
DIY Raised Panel Molding
- neetlydone
- Aug 30, 2021
- 4 min read
How to create an elevated board and batten look

One of my first solo projects was updating our guest bedroom. Overall the room needed to function better and the furniture in the room was dated and took up too much valuable real estate. I started the room makeover by focusing on the accent wall behind the bed. When we first moved in, I had stenciled a pattern on that back wall to create an inexpensive feature but the room was now ready for an upgrade.

I chose to add wood boards and trim to the wall to create an elevated board and batten look. There are several DIYers before me that have created this kind of a feature wall however, I customized it for my space by choosing the spacing and layout of the boards. To get started, I first removed the baseboard on that back wall. I then nailed a 1"x6"primed pine board at the top of the wall all the way at the ceiling making sure to nail the board into the studs I had marked on the wall. Then, before I could add a similar plate to the bottom, I used my multi tool to cut into the baseboards on the side walls so the bottom board would have a nice notch to sit in flush to the back wall. I then nailed this board securing it again into the wall studs.

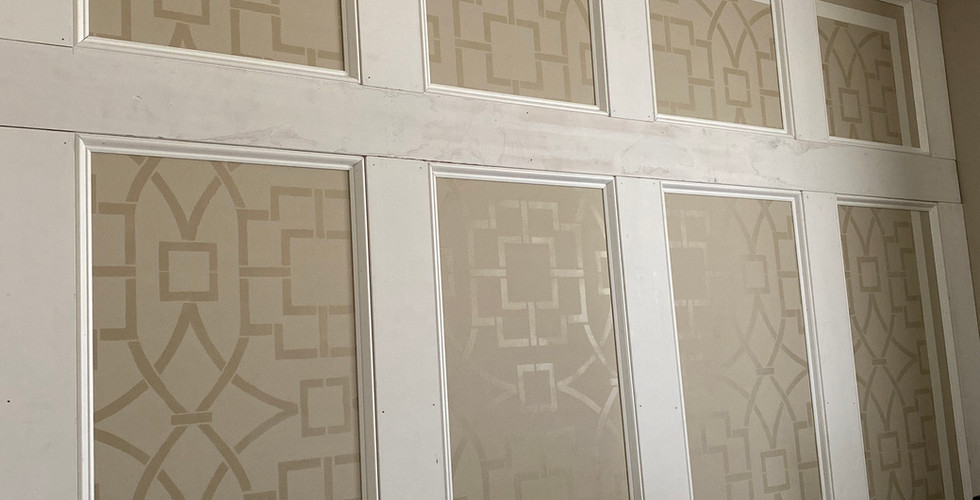
The next step is where the customization comes in. I decided I wanted to have three sections on this feature wall where the top and bottom sections were smaller and the middle one long and tall. I felt that this pattern accentuated the height of the room, even making the room seem taller than it was. Our guest room is not a huge room measuring about 11'x12' so any illusion of space is welcome. I nailed two more horizontal boards 20" from the top and bottom boards and added vertical pieces all along the outer edges of the wall creating the layout below:

At this point, I had to figure out what spacing I wanted for the vertical boards. This is particularly important if the final furniture arrangement is off center. Ideally everything is centered and the pattern will be symmetric but if the nightstands and bed are off to a side, you want a pattern that works well with not only the room layout but the furniture layout as well. I had a closet door that was a 30" swing into the room which prevented me from putting any furniture in that zone. Instead of working around that, I decided I was going to change the single closet door to two smaller doors, essentially reducing the unusable space to only 14". This then allowed me to not only add a second nightstand (my guests are particularly excited that there's a night stand on each side now) but also to center all furniture and therefore the wall pattern. I chose to create 5 sections which meant I needed to add 4 vertical boards in the top, middle and bottom sections.
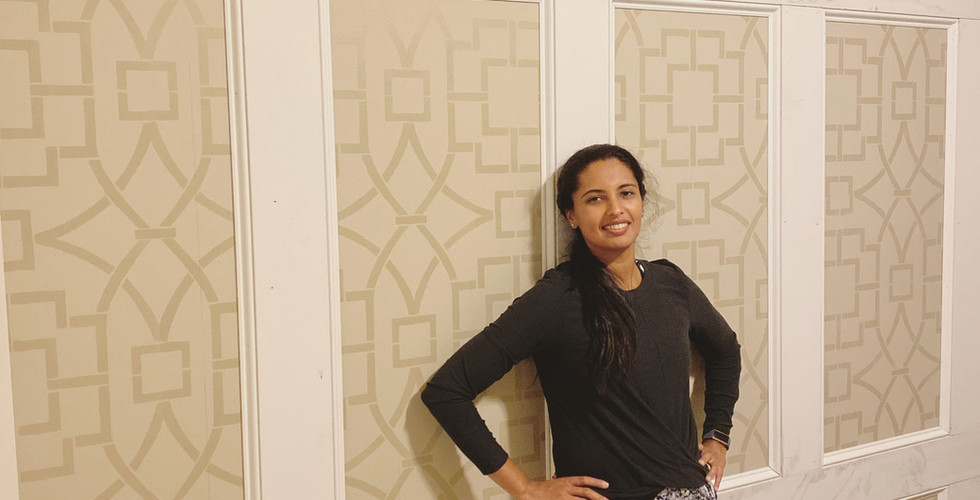
Here's me posing with a corded nail gun (with no cord attached) because after finishing all that wood work I felt invincible! Ha ha! This was one of the projects I had done before I purchased my Ryobi cordless brad nailer but if you are attempting this project and need to buy a nail gun I would definitely invest in the cordless kind. Not having to hook up to a compressor is definitely a game changer and makes starting and stopping projects that much less of a hassle.

One thing to highlight is the importance of keeping all the seams flush to each other. Drywall walls are never straight so when you nail the horizontal boards and then proceed to add the vertical ones, sometimes the boards aren't flush which only causes issues with creating a smooth finish at the end. I used folded bits of paper behind the boards that I needed to bump out a little so the joints between boards were all in line. This is important and I do not recommend skipping this step. It is much easier to get the joints aligned at the time of install using shims (in my case folded pieces of paper) rather than trying to smooth it all out using wood filler at the end.

A simple board and batten is simply horizontal and vertical boards finished with woodfiller and caulk and painted. Instead of stopping here though, I chose to add base cap molding to each of the boxes to add more detail and create more visual interest. This most certainly was a humbling experience. It took quite a few cuts (and some choice words) to finally getting the hang of cutting each trim piece to the exact length I needed. Towards the last few boxes, I was able to cut trim so precise that they stayed in place with no nails! DIY work is not always easy but you can guarantee that the more work you do, the better you'll get. You just have to start!


Once all the molding pieces were nailed in place, I started to fill all the nail holes and wood seams with wood filler. This also was no quick task. There are a lot of seams and for a truly flawless finish, which is what I was after, I had to apply the wood filler not only at the seam but fan it out enough that when I sanded the intersections, they all looked continuous like a single piece. This required a couple rounds of wood filling and sanding to get right.

The final step before priming everything was caulking the joints where the wood boards and trim met the wall and between the base cap molding and the wood boards. This eliminates any gaps and makes the wood work look professional and finished. Once all the caulk was dry, the accent wall was ready to prime. I used Benjamin Moore's Fresh Start to get everything primed and ready for paint.
I knew I wanted a bold color for this guest room, and I finally landed on Benjamin Moore's Chrome Green. It's a deep forest green that certainly adds depth to the overall room design. Check out how this wall turned out in the pictures below.


If you made it this far, thank you for reading! If you're wondering how the next phase of this guest bedroom makeover turned out check out the blog post describing how I gave our 15 year old sleigh bed a little upgrade!


huongnghiep24h.com bữa mình lướt thử vì thấy mấy đứa bạn nói qua, kiểu vào xem cho biết thôi. Mình không ngồi đọc hết bài đâu, chủ yếu nhìn cách họ trình bày trên trang. Thấy phần kèo bóng đá trực tuyến làm dạng bảng theo cột nên nhìn nhanh khá dễ, không phải căng mắt tìm từng dòng. Kéo xuống một chút là gặp luôn mấy đoạn giải thích kiểu “kèo nhà cái là gì” đặt ngay cạnh nội dung, nên người mới cũng đỡ bị lạc. Giao diện nhìn đơn giản, ít màu mè, cuộn là thấy thông tin nối tiếp chứ không bắt bấm nhiều. Mình để ý bảng tỷ lệ cập nhật theo các trận trong ngày…